
Automating Word Document Generation
Automate creating batches of documents using just Node.js.
If you've ever needed to generate a lot of documents, you probably know it's not a quick task to manually create documents, pick the correct templates, format correctly, copy data into them and save in the correct locations. If you only need to do a few, doing it manually is fine but when you're getting into the tens or hundreds of documents, some automation is needed.
Today, we'll be showing you how to create documents in batches with data coming from a JSON array. Make sure you check our next post to take this further and create documents from data in an Oracle database.
Prerequisites
You only need a couple of things to get started - Node.js and a Word document to use as a template. We also recommend downloading Visual Studio Code as a code editor.
Word Document Template
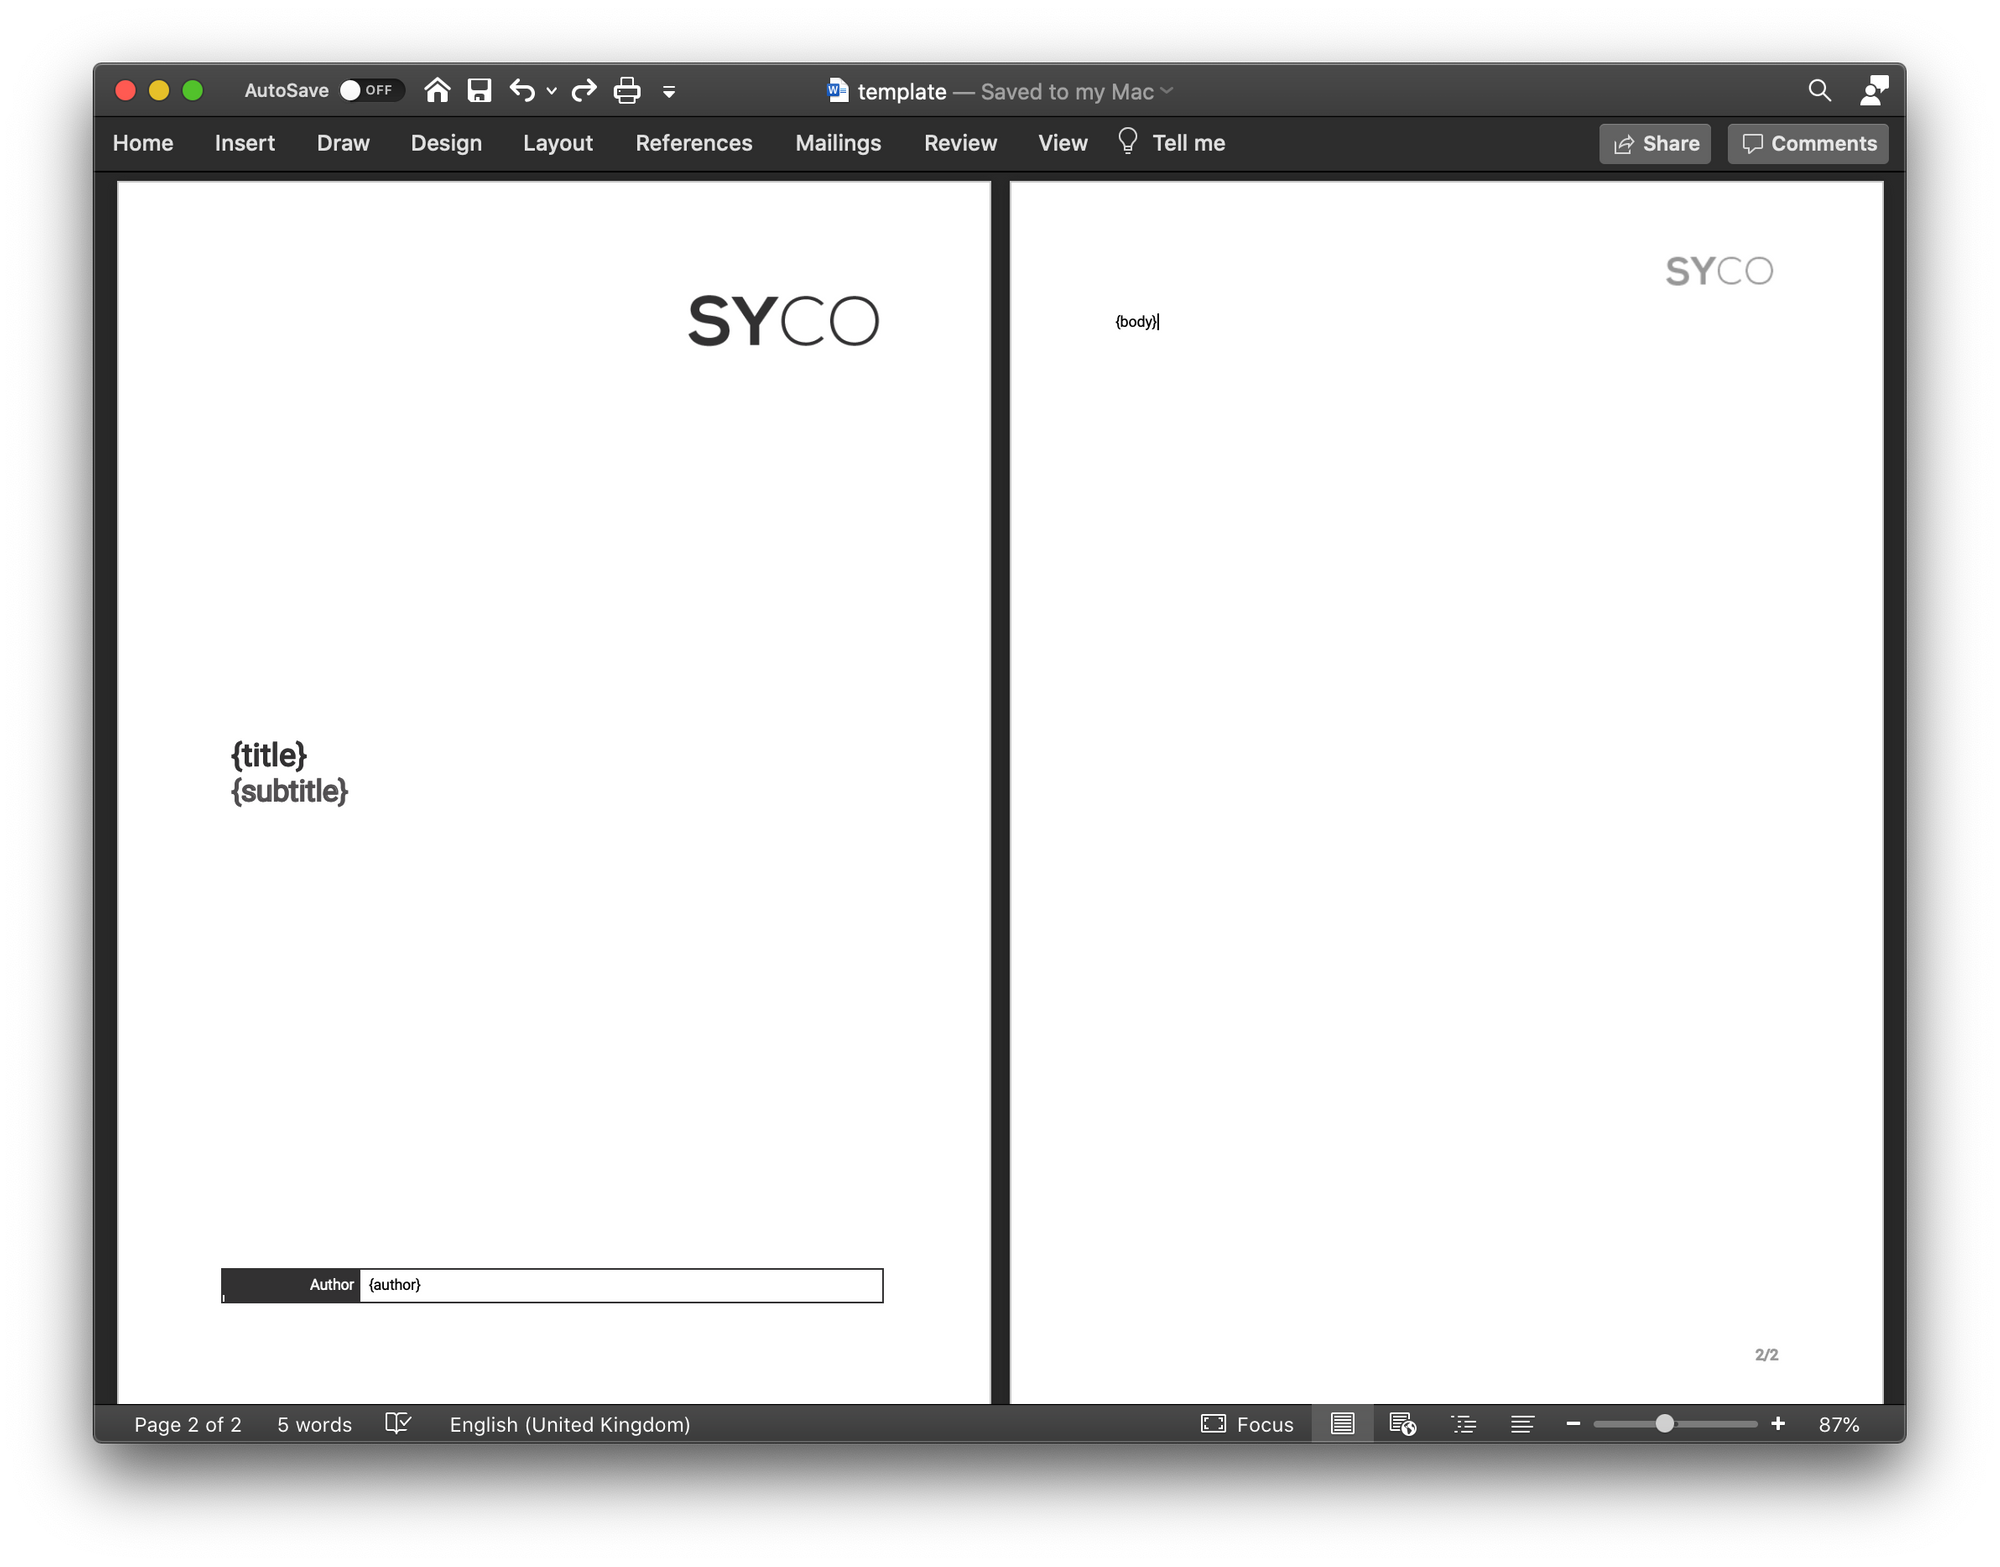
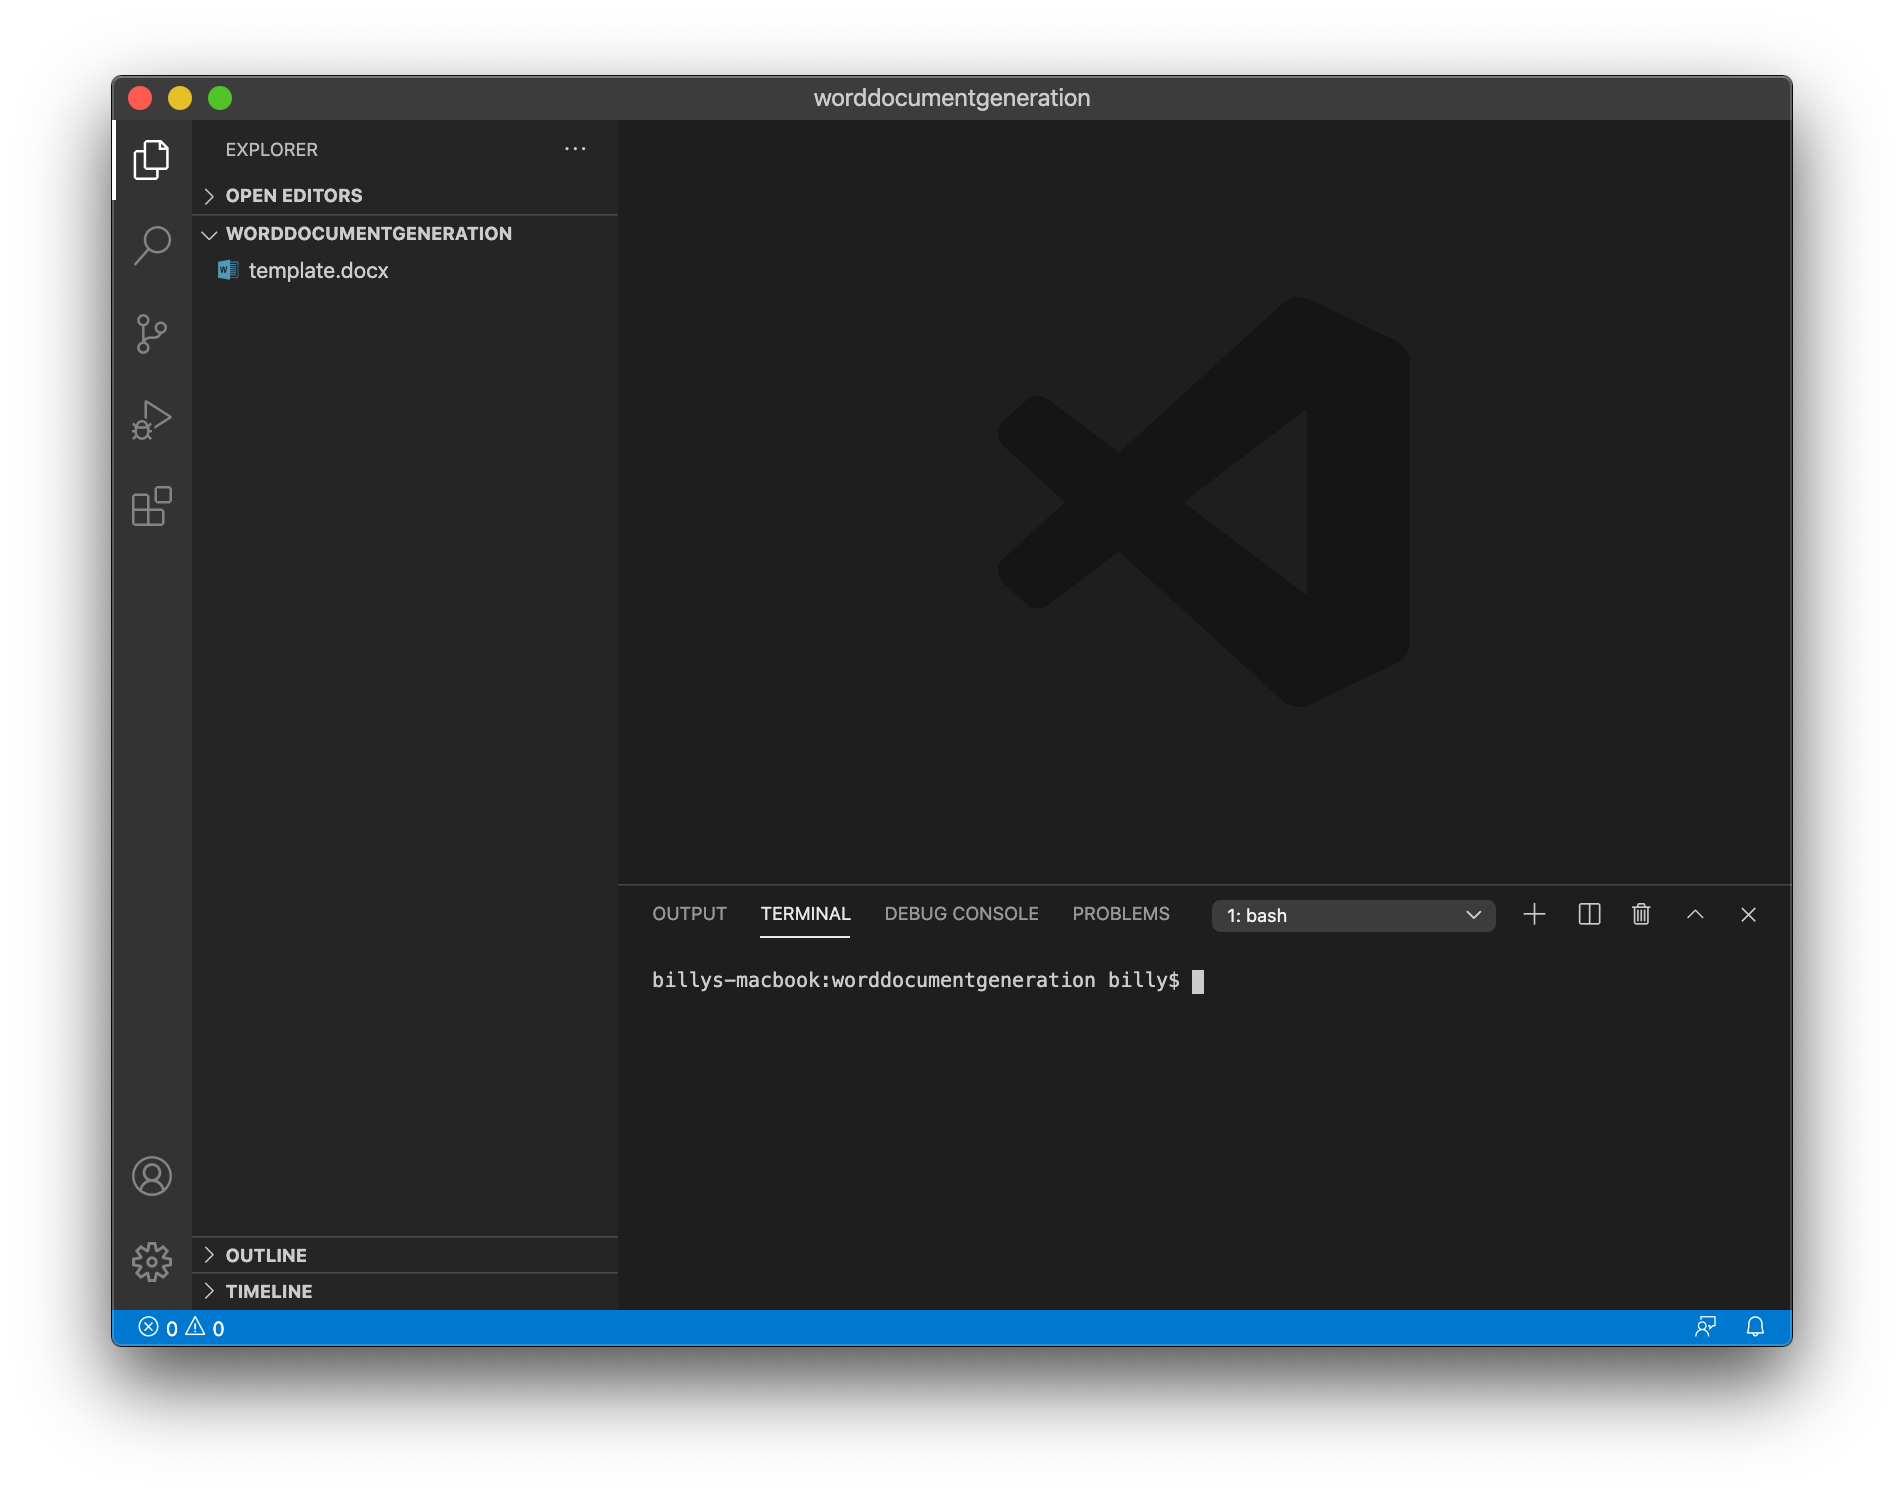
Start by creating a new directory named WordDocumentGeneration and create a Word document named template.docx. This document will be the basis of all documents created automatically so make sure all the formatting is to your liking.
As part of the automation process, we're going to replace tags in the document with data. These tags should be surrounded by curly brackets (or braces) and should identify what data to insert. For example, if we want to automatically set the title of a document, we'd create a tag called {title}, which will be replaced with the actual title later on, automatically. These tags can be formatted however you like and can be place anywhere in the document.
For this tutorial, we've modified our standard consultancy template to include {title}, {subtitle}, {author} and {body} tags.
Node.js
Node.js is an asynchronous event-driven JavaScript runtime and allows developers to quickly bootstrap ideas with code libraries (or "packages") from npm (Node Package Manager). To generate Word documents automatically, we're going to be using the docxtemplater package.
Getting Started
Open the directory you created earlier in Visual Studio Code and open the terminal. If you don't have Visual Studio Code installed, the following steps can be run from a regular terminal or command line.
 Start by executing the command
 npm init to initialise a new npm package. You'll be asked to enter some details about your package but it's ok just to leave them with their default values. Your terminal output should look something like below:
billys-macbook:WordDocumentGeneration billy$ npm init
This utility will walk you through creating a package.json file.
It only covers the most common items, and tries to guess sensible defaults.

See `npm help json` for definitive documentation on these fields
and exactly what they do.

Use `npm install <pkg>` afterwards to install a package and
save it as a dependency in the package.json file.

Press ^C at any time to quit.
package name: (worddocumentgeneration)
version: (1.0.0)
description:
entry point: (index.js)
test command:
git repository:
keywords:
author:
license: (ISC)
About to write to /Volumes/GoogleDrive/My Drive/WordDocumentGeneration/package.json:

{
    "name": "worddocumentgeneration",
    "version": "1.0.0",
    "description": "",
    "main": "index.js",
    "scripts": {
    "test": "echo \"Error: no test specified\" && exit 1"
    },
    "author": "",
    "license": "ISC"
}


Is this OK? (yes)
billys-macbook:WordDocumentGeneration billy$
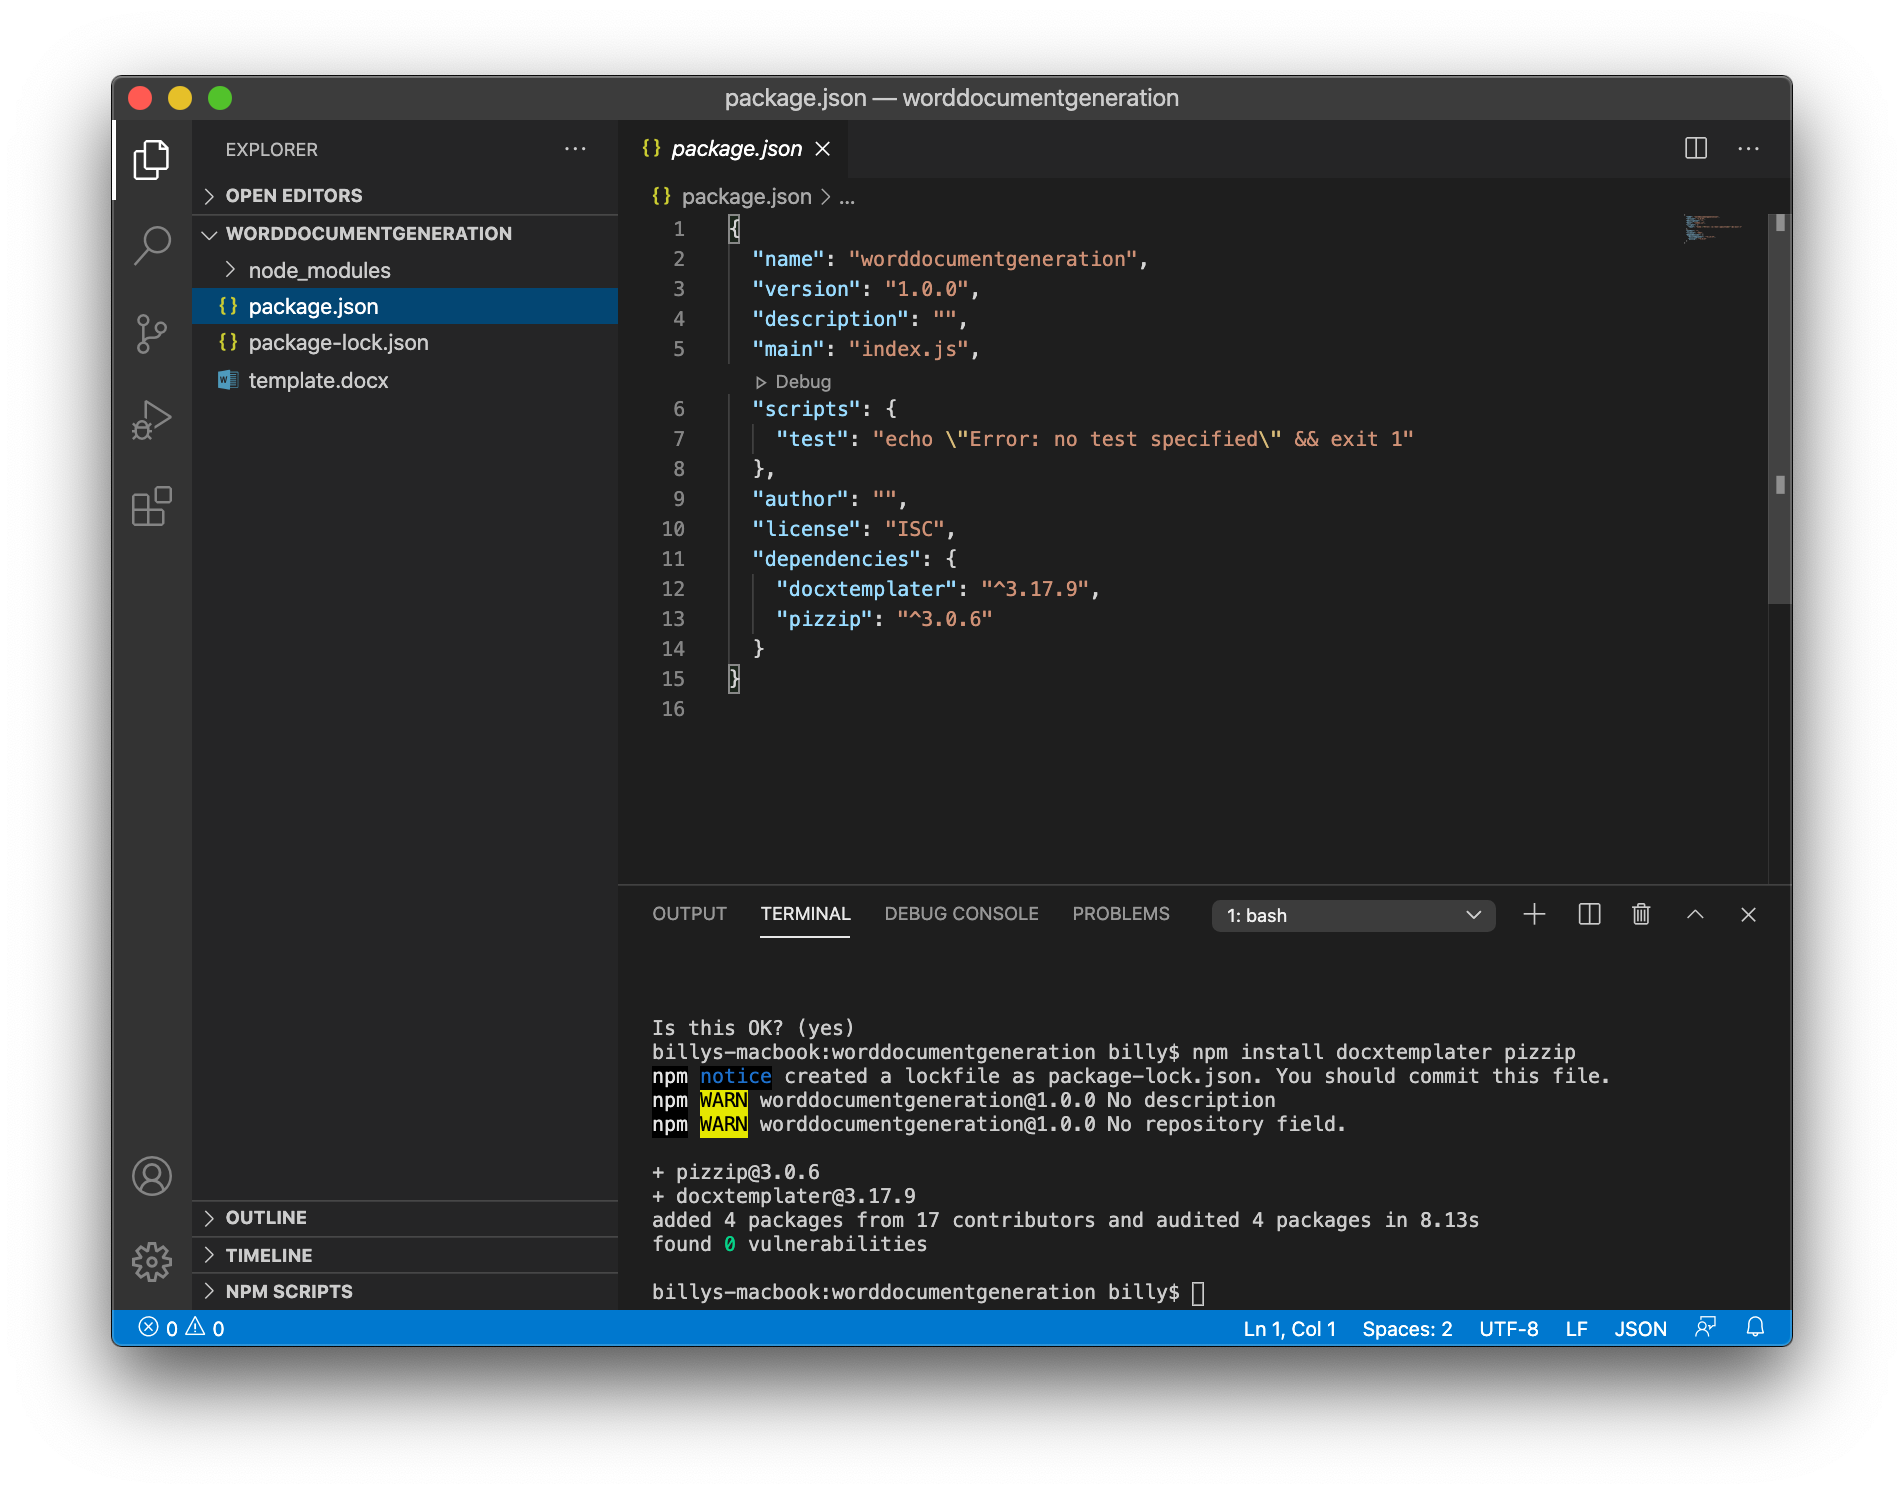
You'll notice there is now a file named package.json in your directory. This file holds basic information about your new package, including any dependencies it requires. We need 2 dependencies, docxtemplater for variable substitution logic and pizzip to "unzip" and "rezip" the DOCX file.
Fun fact: a DOCX file is essentially a ZIP archive of XML files that make up a document. Try unzipping one in an application like 7-Zip to see.
To install the required dependencies, execute the following command in your terminal:
npm install docxtemplater pizzip
After the dependencies are downloaded, you should now see a new directory named node_modules, which contains the dependencies, and a new file named package-lock.json, which contains information about exactly what dependencies were installed and how. The package.json file will also have been updated with our dependencies.
 Create a new file named
 index.js and we're ready to start writing code. At the very top, we'll import the dependencies we need. This includes the dependencies we installed and a couple of built-in dependencies to assist with file reading and writing.
const PizZip = require('pizzip');
const Docxtemplater = require('docxtemplater');
const fs = require('fs');
const path = require('path');
Once the dependencies are included, we'll build a JSON array with the data we want to be included in our Word document. The keys for each object must match with the strings we used in our template. For example, {title} in our template will be replaced with title from the JSON object in the array.
The docxtemplater documentation helpfully includes a couple of error handing functions, so we'll include those. These will catch any compilation errors (e.g. misplaced tags) when using the docxtemplater package.
Start by looping through all elements of our JSON array with a simple for loop, reading the template and initialising the docxtemplater function, catching any errors as we do so.
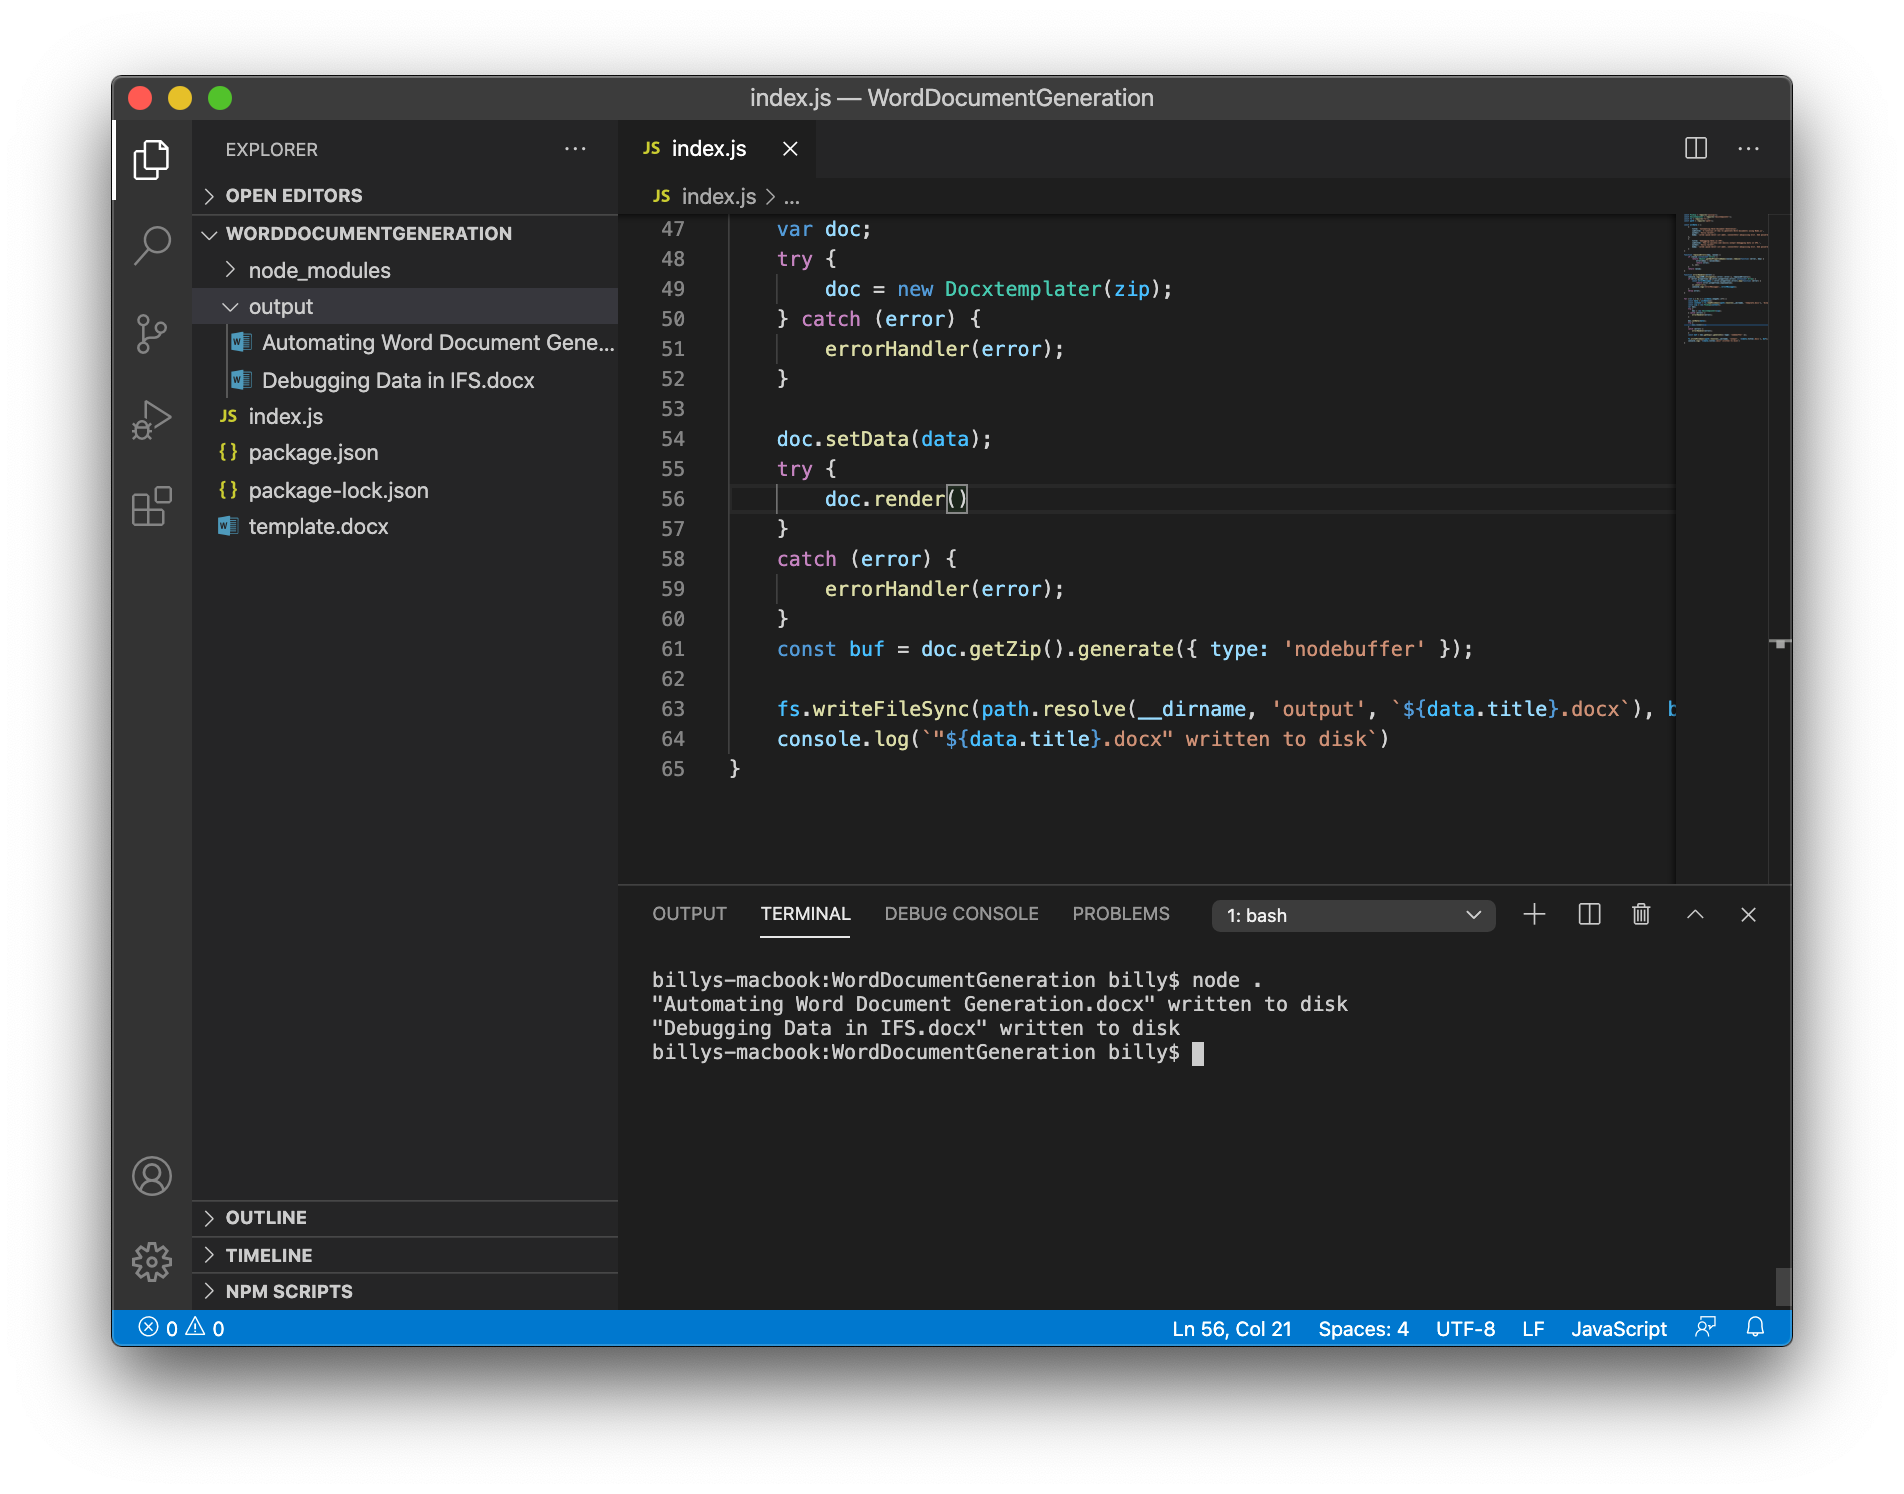
While in our loop, pass in the data and render the document into a buffer.
Finally, write the contents of the buffer to a file on disk and output a confirmation to the terminal. We're writing the file to an output directory (which must already exist), using the title key from the JSON object as the filename. You could easily add another key to your JSON object to specify a different filename and pass it in if needed.
To run the code, execute node . in the terminal and the documents will be generated.
 Be sure to check out our next post where I take this a step further and generate documents from data in an Oracle database!
Also, docxtemplater has a load of more features than the one mentioned above, including loops, HTML replacement and images. Visit their site here.
Need to automate document generation around IFS data?
Syrett Consultancy designs practical document automation workflows that reduce manual effort without creating brittle integrations.
Source Code
generate-word-document.js